Showing posts with label Preserving. Show all posts

Friday, 27 January 2017

Lemon Chutney

This is my favourite chutney hands down and I am quite happy to sit and eat a stack of crackers with this and blue cheese instead of lunch.
This recipe has a 2 day lead in time to sale the lemons so you need to plan ahead but otherwise it is very easy.


Lemon Chutney

7 Thin Skinned Lemons
1.5 Tbs Salt
500 g Sultanas
4 Cloves of Garlic
1 Tsp Chilli Powder
1 Tbsp Grated Fresh Ginger
1 1/2 C Apple Cider Vinegar
500 g Brown Sugar
2 Tsp Grated Fresh Horse Radish (or 1 Tbs of purchased Horse Radish Cream)

Slice the lemons into wedges and remove any pips.  Place in a large bowl and sprinkle with the salt. Cover and leave for 2 days.
After 2 days place the lemons and any juice in a food processor along with the remaining ingredients and process until the lemon is in small pieces approximately 5 mm in size not to a paste.
Place the mix in a large pot and bring to the boil.  Reduce the heat and simmer until the mix is thick.
Pour into hot sterilised jars and seal.

Thursday, 26 January 2017

Maharajah's Chutney

It is preserving time in my parents house and while we wait for our shipping container to arrive and I have the extra 2 sets of hands to help with Kingsley I am using some of my time to start building up our stockpile again.  Yesterday I made 2 different chutney's and stewed some plums.

I love chutney with it's lovely mix of spice, tang and fruityness.  I love it with cold meat and good cheese. This is one that my Mum makes and it is done in the slow cooker which makes it so easy (although I am sure you could do it on the stove top).

I made a double batch so Mum and Dad get some and so do we.


Maharajah's Chutney

10 Plump Garlic Cloves
3 Brown Onions
2 Tsp Grated Ginger
500 g Sultanas
2 C Malt Vinegar
2 C Sugar
2 Tbsp Salt
Grated Rind and Juice of 2 Lemons
1 Tbs Mustard Seeds
5 Small Dried Chillies
3 Tbsp Coriander seeds
2 Tbsp Cumin Seeds
1/4 C Oil
1 Tsp Cinnamon
2 Tsp Ground Turmeric

Dice your onion finely and crush your garlic and add both to the slow cooker along with the sultanas, vinegar, sugar, salt,lemon zest and juice and set the slow cooker to high.
Using a mortar and pestle or spice grinder crush the mustard seeds, chillies, coriander and cumin.  In a heavy based pot heat the oil over a medium heat and add the crushed spices, the cinnamon and turmeric.  Fry gently stirring often until you can smell the spices release their aroma (approx 2 mins).  Do not over cook or they will go bitter.   Add the cooked spices to the slow cooker and give the mix a good stir.
Cook on high for 3 - 4 hours giving it a good stir ever hour then bottle into sterilised jars.

Like all chutneys the flavour needs time to fully develop so give it at least a month before you open it.

Sunday, 22 January 2017

Our New Zealand Move - Week 1 Update

Well here we are in New Zealand starting our new lives and I have found time to do a quick update.

The trip over was all going well with a baby who slept for a lot of it and had no trouble with his ears from what we could tell until trying to land at Wellington airport.  Winds of 145 km per hour saw our first landing aborted and on our second attempt which was bumpier than the first Kingsley woke up and promptly vomited all over his father.  Thankfully it had been a little while since he had fed and it was not too dramatic.  But the second attempt at landing was also aborted and our plane was diverted to Christchurch.  On arrival in Christchurch we were advised that we could not be cleared by customs and quarantine and therefore had to spend the next 2.5 hours in the plane.  Thankfully it was a half full flight so it was not too claustrophobic and our ticket had included a meal just after take off from Brisbane.  We had also packed snacks and I had some bottles of expressed breast milk so none of us were left hungry.
After a few hours on the plane we took off again and this time landed in Wellington with not too many bumps along the way about 3 hours later than expected.  Thankfully our dog Jessie was not on our flight and was due to land a bit later so her flight was only slightly later than predicted.
By the time we passed through the airport, collected all of our bags, waited for Dad to pick us up, had dinner, picked up Jessie and did the 2.5 hr drive to Mum and Dads it was after midnight.  It was a long and exhausting day but it was done.

Since arriving we have been quite busy looking for a house to rent, Hubby has been looking for a job and has interviews lined up, we have been up to the farm and inspected our shed in person and are very happy with the result.  All the trees that we have planted over the years are growing well and bushing out nicely and our paddock grass was waiting for the hay makers to come and cut it which has now been done.  The weather has been quite changeable with showers, wind, sunny days and mild temperatures which is nice after the hot weather we left and what we have been told we left behind.


Jessie is really enjoying having lots of space to run around on again as mum and dad have 5 acres and we have been taking her up to our farm when ever we go.

Jessie sitting at the front of the open bay of our shed

Here are some obligatory baby photos of our little man.  He is a real talker and loves to talk and roll over.


He has been enjoying cuddles with Nanna and Poppa.

Having a laugh with Nanna

Watching TV with Poppa
We also took him to visit his Great Grandmother (my dads mum) who turns 90 this year.
We will be going to see his other Great Grandparents on the 30th and lots of other relatives that week too.


Since arriving at Mum and Dads we have been spending time out in the veggie garden picking strawberries by the kilo every few days and beans by the bucketful.  There has also been cucumbers, gherkins, plums, apricots, snow and sugar snap peas and beetroot to harvest and enjoy.  Rather than start a veggie garden of our own in pots at our rental or up at the farm straight away we are just sharing what Mum and Dad have grown (which is plenty for all of us) and we are planting out enough winter veggies for all of us.
Mum and I have also been preserving the harvest.  Beans have been blanched and frozen, chutney and pickles are being made, fruit stewed and bottled and I have got some gherkins fermenting.  Later this week Dad will be killing a sheep as well so having had to get rid of all our food before moving and start from scratch again it is nice to know we will have home grown meat and vegetables to reduce our food bill as we look to build up our pantry staples again.

Lacto fermented gherkins
I am hoping to catch up on some blog reading this week but we will see as I keep thinking I will and other things take priority.


Tuesday, 30 August 2016

A New Preserving Unit

Back in 2012 I picked up an old Fowlers stove top preserving unit that came with a few jars and bits and pieces and then later on I got lots of other jars from the op shop.  The preserving unit although old got me started and I got a lot of use out of it.  But it was coming to the end of it's life as the bottom was rusted and I was sure it was going to spring a leak every time I used it.  I considered getting a new base welded in but had not done anything about it.  I also looked into getting a new electric preserving unit but they are over $250 new so again this had not progressed.

While we were in Daylesford on our road trip we just happened to be wandering through a retro and second had store when out of the corner of my eye I spotted a retro orange and yellow preserving unit just like the green one I had at home.  On closer inspection it turns out that the unit is brand new and came complete with the jar opener, recipe book, air remover, bottle brush, thermometer and a brewers thermometer.  I could not believe my luck and it only cost $70 for the lot.
So the preserving unity then had to join us for the rest of our road trip which was no small feat as it is quite bulky.  But as I told Hubby we WILL find room.

My old preserving unit on the left and new one on the right
As you can see the inside of my old unit is very rusty and the base is now very thin.


I really could not believe what I was seeing when I saw it was brand new but I am sure that once we get to New Zealand I will be able to put it to good use and change that.  Mum and Dad have a big veggie garden and orchard for us to take advantage of and I already have some asparagus plants planted there so I am sure it will not be too long till the new one gets christened.

Monday, 31 August 2015

The Weekend Kitchen

This weekend saw quite a bit of action in the kitchen with preserving, baking and meal planning in action.
Our little lemon tree was loaded with lemons this year and I have made some preserved lemons and used lots in baking but there were still heaps on the tree so I picked a bucket full to make some cordial which barely made a dent.


I also made a couple of date loaves one for this week and one for the freezer.  We are heading off to New Zealand for most of September, and October looks like being a very busy month for us, so I have also been stocking the freezer with meals and baking ready to just heat and eat.

Saturday night I made dahl and kashmiri chicken curry (recipe later this week) and I had 3 portions of each for the freezer after dinner.  I now have 2 weeks worth of meals ready to call on when we get back from New Zealand.
Even after making 3 x 750 ml lemon cordial concentrate (recipe below) I still have heaps of lemons left so now I have to come up with another plan.  I think I might just throw them in a bag and freeze them.  The juice will be fine once defrosted but I am not sure about the rind.

Lemon Cordial

This recipe is very tart which is how I like it but you might want to cut back on the acids

9 Large Lemons
3 Cups Sugar
9 Cups Boiling Water
6 Tsp Tartaric Acid
6 Tsp Citric Acid
6 Tsp Epsom Salt

Zest and then juice all off your lemons into a stock pot,  Add all of you other ingredients and stir until the sugar is dissolved.  Bottle in sterilised bottles and store in a dark cupboard.

How was your weekend?

Tuesday, 28 April 2015

Preserving Autumn Produce

While we were away over Easter we picked up a couple of boxes of apples as the area where we were staying is renowned for it's fruit growing.

We came home with 8 kg of granny smiths for cooking and preserving and 8 kg of royal gala for eating.

Hubby likes to take dried fruit for lunch a few day a week so we decided some dried apples would be nice.  We have now done a coupe of batches and are pleased with the results.  When we are doing it we set up a little production line.  I peel the apples and slice them and then hubby cores the slices and puts them in a bowl of water that has the juice of 2 lemons squeezed into it.  Once we have done enough to fill 2 trays we lay them out on the trays and repeat the process to fill the the remaining 2 trays.
Once I think they are getting close I turn the dehydrator off and let the slices cool completley.  It is then much easier to tell if they are dry enough to store.


The other thing I have been preserving are the late planted cucumbers that I have turned into lacto fermented dill pickles.
I used the method from Nourishing Traditions which is so easy and the pickles are ready to eat in just a few days.  You can also use this method for other types of veggies too and if you want to give it a go the recipe is posted here.  I was all out of whey from cheese making so for this batch I strained some yogurt and collected the whey for use.  I suspect that since yogurt bacteria ferment at a higher temperature the pickles will not be as 'fermented' as if I was using whey from cheese making which ferment at lower temperatures.  I  just use Lebanese cucumbers and pick them when they are small.  I stuff as many into jars along with layers of dill and dill seeds.  I do not even bother to chop the dill I just stuff it in there.  Once all the cucumbers are in I pour over the whey and salt water mix and put the lids on the jars.  I burp my clip top jars and just sit the lids of screw top jars on tops so that they can release any gas build up.  Hubby opened the first jar today and declared them delicious and from the bite I had I agree.


I think my cucumbers might hang on just a little longer and I might get another batch done but it will all depend on the weather.

What have you been preserving?

Monday, 1 September 2014

The Weekend Kitchen - Marmalade and Sausage Rolls

We had the most glorious weather over the weekend so most of my time was spent out doors.
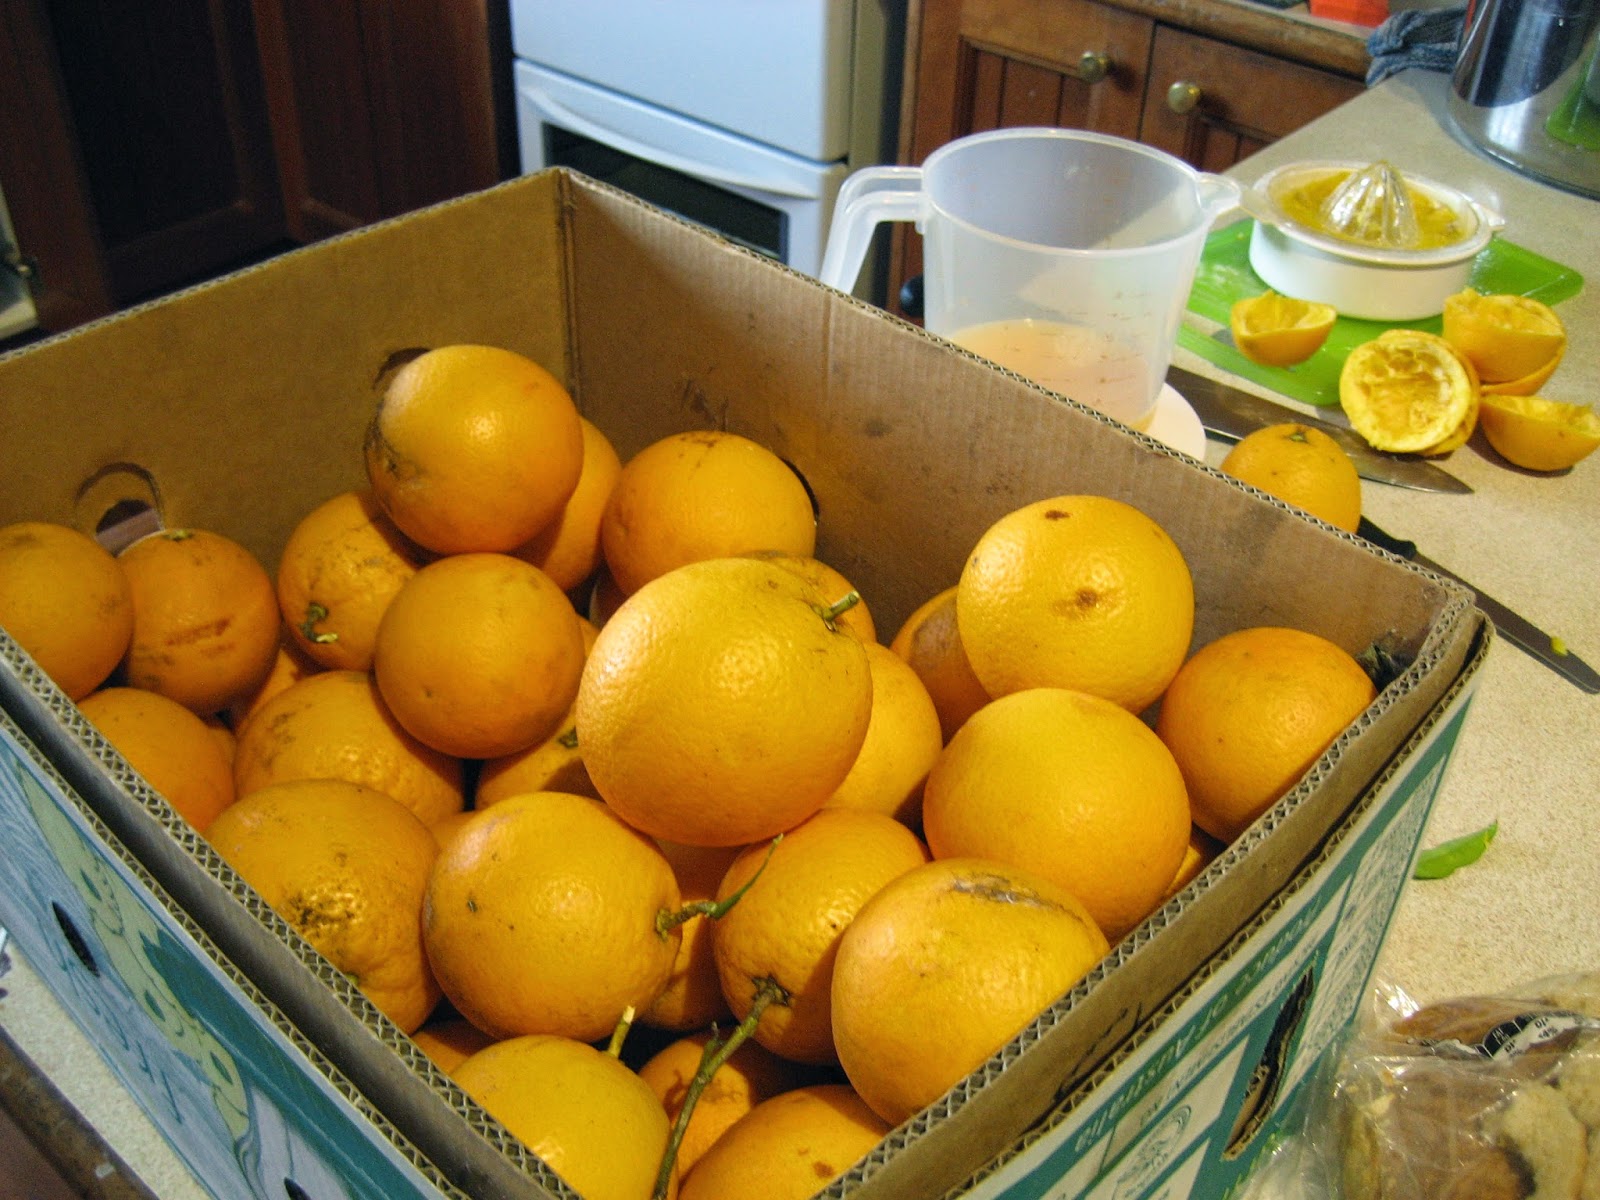
Hubby had to work on Saturday but when he came home he brought with him a box full of oranges and a bag of avocados that the client had given him.  The client also gave him a bag of oranges last week too so we have been juicing them and enjoying them fresh every day.  I am not sure what kind of orange they are but they are really juicy and sweet but also a bit tart which is just how I like oranges.

I have started making a dent in the box of oranges


So I decided it was time to make an Orange and Almond Cake and some marmalade for my father in law for fathers day.

Gluten Free Orange and Almond Cake

Orange Marmalade (I am waiting on a verdict from my father in law)

Then I made some beef sausage rolls which made for an easy dinner with salad and will give Hubby something different to have in his lunch box this coming week.


I will post the recipes over the next few days in case you too are lucky enough to have a glut of oranges or want to try making your own sausage rolls.
What did you get up to in the kitchen over the weekend?

Thursday, 28 August 2014

Harvesting And Storing Lemon Myrtle

One of our neighbours has a large Lemon Myrtle tree and recently I harvested some leaves to use in the kitchen.
Lemon Myrtle is a native bush food and has a strong lemon scent that will impart it's lemon flavour when added to foods.  I like to add it to fish, chicken and lamb and it makes a great addition to sweet treats too.  if you don not have a tree nearby you can buy it in the spice section from selected stores.

To prepare the leaves you first need to give them a good wash.  I soak them all in the sink and then pick them out one at a time and use a soft scrubbing brush to give them a gentle scrub on both sides of the leaves. This removes all the dust and spiderwebs that are attached.


I then spread the ones I want to dry out on a towel on top of the chest freezer.  Once they are dry I place them on a tray in the oven and set it to 50 degrees Celsius and dry them out for a few hours then leave in the oven to cool.  This may need to be repeated to get the leaves fully dry.  If you have a dehydrator then you can use that instead.


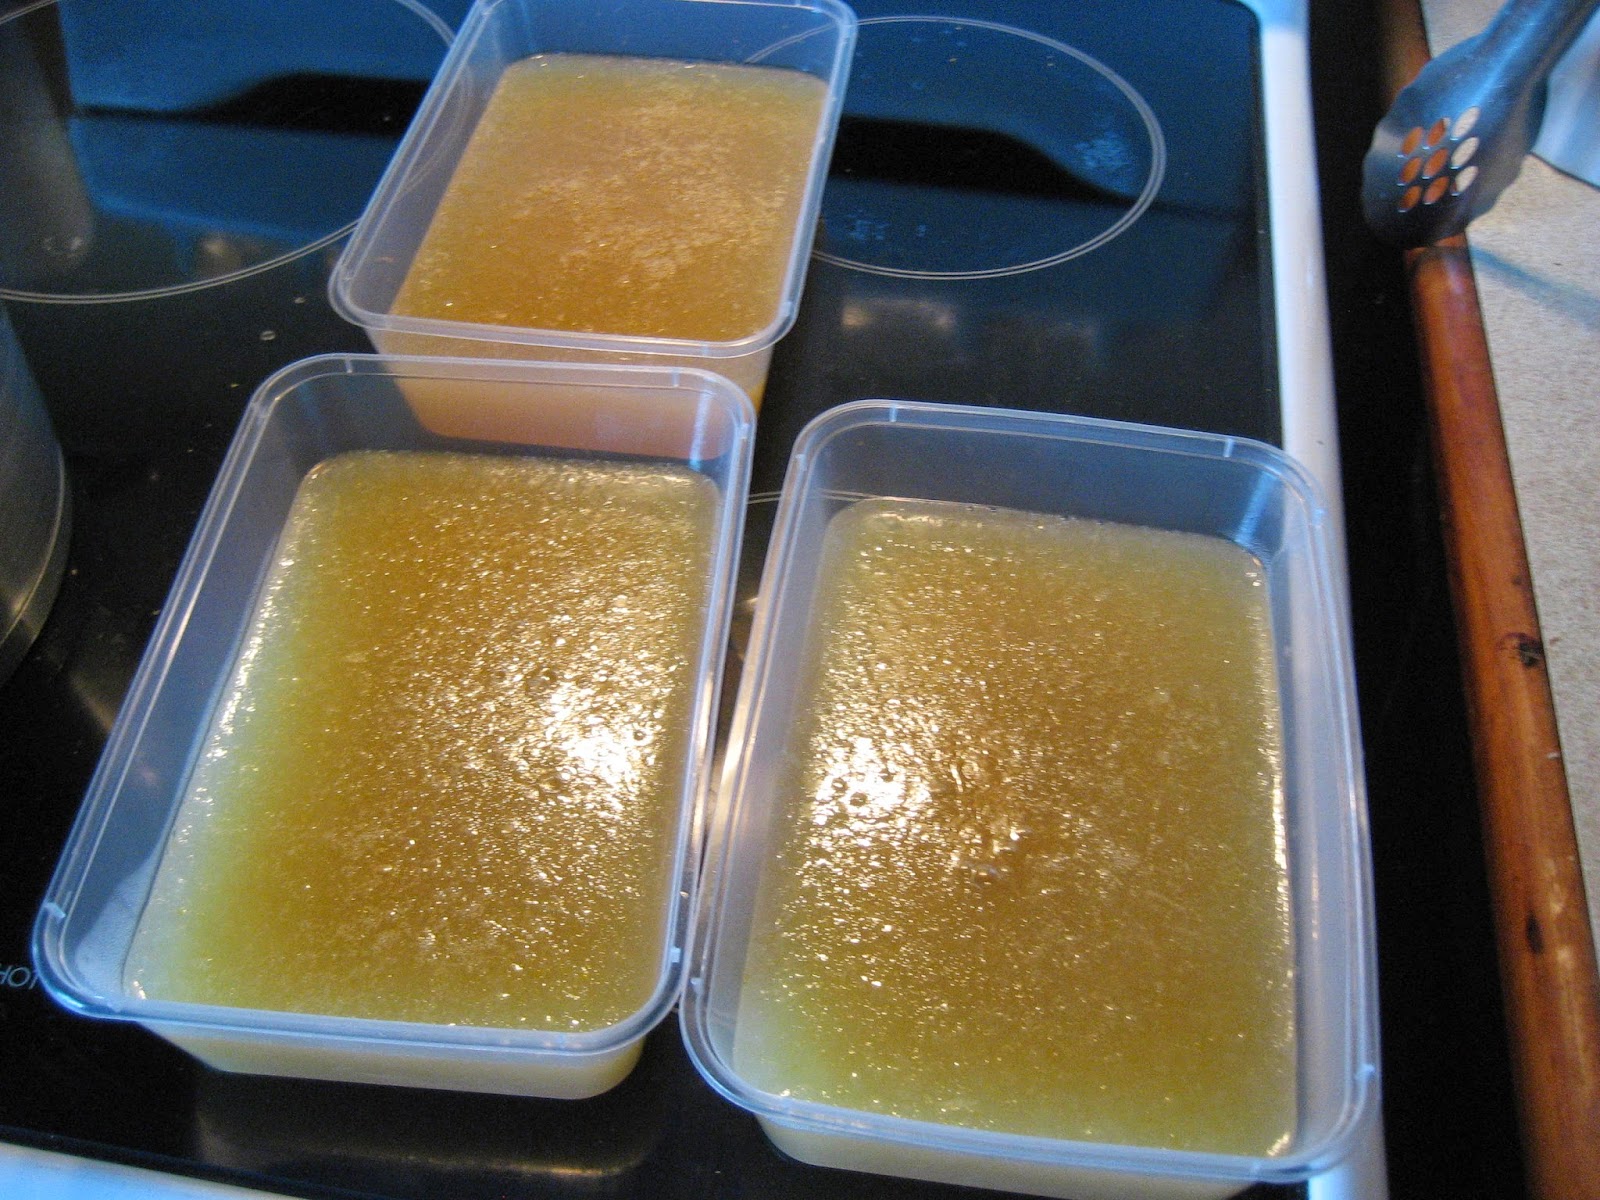
I do not normally only dry half of the leaves an the rest of them I add to a stock pot and cover with water and simmer covered for an hour.  Once the leaves have flavoured the water I freeze it in takeaway containers.  I use it to add to fruit juice and punch in the summer for a refreshing drink.


Once the leaves are dried I put them in my herb chopping attachment from my stick blender or my food processor, depending on the quantity, and chop the dried leaves until they are as fine as I can get them.  I then use my mortar and pestle to get it really fine.  I just pound it for a bit then sieve out the fine stuff and keep repeating until it is all as fine as you want.


You can then store it in an airtight jar until you are ready to use it.


There are a whole range of recipes online and you can check out some here for ideas.  My favourite is Lemon Myrtle and Macadamia Nut Shortbread and I will post the recipe to that tomorrow.

Have you ever harvested your own lemon myrtle?
Do you ever use it in cooking?

Monday, 28 July 2014

The Weekend Kitchen

I am a list maker and it helps me to be very productive.  This weekend I managed to get through a huge list of jobs both inside and out, it was a really really productive weekend.

I made Yoyo's (also know as melting moments) and other than the one each that we taste tested they have been put in the freezer for eating a a later date when I need something for guests in a hurry.


I found a block of cream cheese lurking in the back of the freezer which according to the label should have been used up last November. Yep you read that right.  I knew it had been in there a while but I did not know it was that long.  When I opened it there was nothing wrong with it at all so I made a baked Lemon Cheese Cake.


I also made a Spinach, Smoked Salmon and Sour Cream Tart which was so delicious.


I made a yummy Black Bean Salad,


And some Sweet Chilli Scrolls for Hubby's lunch box this coming week.


I won't share all the recipes here but will include in posts over the next week so pop back if something caught your eye.  For now though here is the recipe for the Yoyos which are a biscuit I learnt to cook when I was in primary school.  They are very rich shortbread like biscuits that I am sure are not good for your waist line so enjoy as a treat.

Yoyos

175g Softened Butter
1/4 Cup Icing Sugar
1/4 Tsp Vanilla Essence
1 1/2 Cups Plain Flour
1/4 Cup Custard Powder

Cream the butter and sugar until light and fluffy.  Add the vanilla essence and then sift the flour and custard powder before adding to the creamed butter mix.
Roll teaspoons of the mix into balls and place on a greased baking tray.  Flatten with a fork and bake at 180 degrees for 15  20 minutes or until the edges just start to colour.
when cold sandwich together in twos with the butter filling below or eat as they are.

Filling

50g Softened Butter
1/2 Cup Icing Sugar
2 Tbsp Custard Powder

Beat all ingredients together until well combined.

Friday, 20 June 2014

Preserved Lemons

Preserved Lemons are used from North Africa to India.  You can use the pulp but most recipes call for the skin.

You need to have a clean sterilised 2 litre jar ready to pack you lemons into so get his ready before doing anything else.  Thin skinned lemons work best for preserving but work with what you have got.  I have even used this recipe for Tahitian limes which are quite lemony when finished.  Both the rind and flesh sweeten during the pickling process.


Preserved Lemons

8 - 12 Small Lemons
310 g Rock Salt
500 ml lemon Juice (From Additional Lemons)
1/2 Tsp Black Peppercorns
1 Bay leaf
Olive Oil

Scrub your lemons gently under warm running water with a soft bristle brush.  Cut into quarters or if you only have large lemons cut them into eighths.
Sprinkle a couple of spoons of salt into the bottom of the jar then add a layer of lemon segments followed by more salt and then more lemons.  Continue this pattern packing lots of salt around the lemon segments and packing the lemons as tightly as you can.
When the jar is full add the peppercorns, bay leaf and remaining salt.  Then fill all the way to the top with the lemon juice.
Seal the jar and leave for 6 weeks in a cool dark place.  Each week you need to turn the jar upside down and give it a good shake before returning it to your cupboard.  The lemons need to stay below the juice so you may need to top it up with extra lemon juice but at this stage you do not need to fill to the top of the jar.
The liquid will be cloudy initially but will clear by the fourth week.
To test if the lemons are preserved check the colour of the pith.  If it is still white they need more time so reseal your jar and leave another week or two.  The lemons will be soft skinned and the pith the colour of the skin when they are ready.

Once the lemons are preserved cover the brine with a layer of olive oil.  Top up the olive oil each time you remove some lemon to use.
Refrigerate after opening.

Using Preserved Lemon

When using preserved lemon skin you need to remove all of the flesh of the lemon and then give the remaining skins a rinse under the tap.


You then need to remove all of the pith to leave just the preserved skin behind.  This is easiest to do by flattening the lemon out on your chopping board and using a knife on its side cutting flat across the board as well.
When you are left with just the skin you can dice it finely and add it to your dish.


There are some dishes that use the pulp so check your recipe.  Generally if it just says preserved lemon they mean the skin and not the pulp as well.

Monday, 19 May 2014

The Weekend Kitchen

We had quite a busy weekend and got a lot of little jobs done.  I also spent a few hours in the kitchen with good results.

The first thing I had to get done was a worming mash for the chickens and I will post the recipe tomorrow.

Preparing the worming mash

Then I needed to think about how I was going to deal with some produce given to me by a neighbor.  The gave me a whole lot of lovely lemons from their place and half of the ox heart tomatoes that another of our neighbors had given them.
The tomatoes have been picked green to prevent them getting stung by insects and going bad but after just 3 days a few of them have started to turn red.  I am not sure what I am going to do with them.  I thought pickle but there is already a good stock of pickle in our pantry.
Ideas anyone?

My lovely gifted produce

I used some of the lemons to make preserved lemons and then because I had lemon juice left over I made some lemon sago.

I poured my lemon sago into takeaway containers as they are
easy to store in the fridge.

Lemon Sago

1 Cup Sago 
3 Cups Water
Juice and Zest of 2 large Lemons
2 TBS Golden Syrup
1/3 Cup Sugar

Soak the sago in the water in a large saucepan for 30 minutes then add the remainder of the ingredients and bring to the boil.  Reduce to a simmer, stirring for 10 minutes until the sago is soft and the mix has thickened.
Pour into individual bowls and chill until set.


Finally in a bid to clean out my freezer I used up some frozen cherries that I think have been in there since the summer of 2012/13.  I turned them into cherry chutney so the fact they have been frozen all that time will not make any difference.


What did you get up to in the kitchen over the weekend?

Monday, 27 January 2014

A Quiet Long Weekend

Here in Australia we have just had a long weekend to celebrate Australia Day.  I really needed some down time and Hubby has an injured knee (he is off for and MRI tomorrow) and needs to take it easy.  So we planned to get our jobs done early each morning and then spend the day just chilling out without any guilt.

We watched DVD's, read, had a few nanna naps, did a bit of of house work and a bit of baking.


We also made another batch of pickled jalapen'os.  This time I got Hubby involved since he is the one who eats 99% of them.


How did you spend your weekend long or otherwise?

Thursday, 5 December 2013

Peter Piper Would Be Proud


Peter Piper picked a peck of pickled peppers.
A peck of pickled peppers Peter Piper picked.
If Peter Piper picked a peck of pickled peppers,
Where's the peck of pickled peppers that Peter Piper picked?

Well they are at my place, I just haven't pickled them yet.  And in case you a wondering how much a peck is well you can learn all about here.
I have 5 plants growing and they are cropping really well.  I have picked these ones green as we can get bugs here that destroy everything in the same plant family and I do not want to risk getting none at all. There are still heaps on the plants so I will leave the next round to ripen a bit longer.


Of the 5 plants I am growing 4 of them are growing jalapenos that are exactly how I would expect them to be, small and pointy.  But one bush is ones that are long and pointy.  I was not sure if they were chillies of any variety or if I had planted out some of the Italian Fryers capsicums that I grew last year.
So I had a little nibble on the end of one.  Tastes like capsicum.  I had a bit more of a nibble.  Yep still tastes like capsicum.  One more nibble to be sure.  Oops that's hotter than capsicum.  Either they were capsicums and have cross pollinated or they are just a different type of chilli

Check out the size difference, and my nibbled one.


Earlier this year I made a whole lot of pickled Jalapenos and I will be using the same recipe again as we were really happy with the result.

We love these on Pizza and nachos and a few diced up fine mixed into home made mayonnaise is great.  Hubby also likes to add them to his sandwiches but that is a bit much for me.

Do you eat jalapenos?
How do you like them?


Monday, 4 March 2013

Pickled Jalapeños

For a while now Hubby has been requesting that I make another batch or pickled jalapeños.  He loves them on pizza, in sandwiches in almost any thing.  So this afternoon I made up a few jars.
I make up a pickling liquid pour it over the sliced raw jalapeños then put the jars in a water bath to seal them.  The water bath is not essential but means you can store unopened jars in the pantry (for up to 12 months maybe longer) instead of the fridge (for up to 2 months).
Pickled Jalapeños

650gm Jalapeños
2 Cups Apple Cider Vinegar
2 Cups Water
2 Tbl Peppercorns
4 Bay Leaves
4 Cloves of Garlic peeled and cut in half
4 Tbl Salt
4 Tbl Corriander Seeds
2 Tbl Sugar

Place all ingredients except the Jalapeños in a saucepan and bring to the boil.  Reduce the heat and simmer for 5 minutes.  While this is happening slice your Jalapeños and place in sterilised jars.  Pour over the hot pickling liquid and seal.
At this stage you can either leave the jars as they are or process in a water bath.

My water bath method: I brought my jars to the the boil then held them there for 10 minutes.  I then turned off the heat and left them in the hot water for a further hour.

Tuesday, 19 February 2013

A Stockpile Challenge Pt 5

Well here we are 19 days in to the challenge and 28 days since I did a "normal" shop and so far I have spent $15.75.
I am starting to think that shopping will be different from now on.  This challenge has really opened my eyes to where we waste food, where I fail to be creative with ingredients and how much variety a few ingredients can provide.  In fact I think we are eating really well.
Last week I made an eggplant and macaroni lasagne which lasted us most of the week teamed up with salad.
I made up a meat mix loaded with our home grown capsicums and tomatoes, then I sliced home grown eggplants into 1cm thick slices and made a white sauce loaded with parsley.
Then it was all about the layers.  Eggplant, meat, white sauce, macaroni and repeat.

Then I retrieved and very hard and slightly mouldy block of parmesan from the fridge.  After trimming off all the surfaces to get rid of the mould I grated it on the top.  Let me just say it was a hit.

At the end of last week I had to got to Brisbane for a few days for work.  While I was down there I decided to go the Rocklea Farmers Market and buy Tomatoes for preserving.

I had to really stop and think about if I should buy them or not since I am doing this no shopping challenge.
Hubby and I talked it over and we decided that we should buy them now regardless of the challenge for a couple of reasons.
1. This challenge is self imposed and there are no prizes (other than the money saved and the pantry clean out)
2. Tomatoes are currently cheap to buy and even cheaper from the markets but will not remain so.
3. It is a 260km round trip to go to the markets from home vs an additional 30km since I was already in Brisbane.
4. Since all the of tomatoes were destined for preserving and we still have a few jars in the pantry they will not form part of our meals this month.
So I purchased 2 x 10kg boxes of roma tomatoes.
Hubby helped me dice them up and each 10 kg box completely filled my 12 litre stock pot once they were all diced up.
And once bottled up I ended up with 20 x 1 litre jars and another litre that I froze in small portions.
So although the challenge this month is to put a dent in the stockpile this lot will keep us going for quite a while but I don't feel bad about it.  This is the sort of stockpiling that will allow us to continue to shop frugally in the future.